How to Cut a Wedding Cake: A Step-by-Step Guide for Newlyweds
As a newlywed couple, cutting the wedding cake is one of the most memorable traditions you will participate in during your reception. The ceremonial first slice symbolizes your first act as a married couple and represents the start of your lives together. Learning how to properly cut and serve the cake ensures an elegant moment that you’ll cherish in photos and memories.
For me, cutting the cake felt incredibly meaningful. As my new husband’s hand guided mine in slicing into the confection we had painstakingly chosen together, it hit me that this was real—we were embarking on our marriage as a team. After months of stressful wedding planning, this simple ritual reminded me what the day was truly about: our love and commitment to each other.
If you want your cake cutting moment to be just as magical, follow these tips. Here is a comprehensive, step-by-step guide on how to cut a wedding cake with grace, style and meaningful symbolism.
Why Knowing How to Cut a Wedding Cake Matters
Before diving into the techniques, let’s look at why mastering this skill set is so important for newlyweds:
The History and Symbolism
The tradition of a wedding cake dates back to Roman times when a cake made of wheat or barley was broken over the bride’s head for good luck and fertility. Thankfully, that ritual has evolved into the more elegant cake cutting ceremony couples participate in today!
The cake cutting represents the first task you will perform jointly as a married couple. It symbolizes that you will rely on one another and work together in your new life. Making that ceremonial first slice neat and photo-ready means you will have stunning pictures to commemorate the moment.
Serving the Guests
In addition to the symbolic first cut, you will need to portion the rest of the cake for serving to your guests. A wedding cake is often the most expensive part of the menu, so you want to maximize each tier. Understanding how to properly slice and serve it without leaving large hunks of unused cake is a skill to master. This ensures everyone gets an ideal sliver while minimizing waste.
Step-by-Step Instructions for Cutting Different Wedding Cake Shapes
From elegant round tiers to modern geometric shapes, wedding cakes come in many dazzling forms. The cutting technique differs slightly depending on the shape. Here are instructions for the most popular options:
Round Wedding Cakes
Round cakes are traditional and remain the most common shape. Follow these steps for a flawless ceremonial cut:
1. Trace and Cut Concentric Circles
- Trace a circle lightly around the cake’s circumference with a toothpick, skewer or dull butter knife. This delineates the perfect portion size for each guest.
- Insert your sharp cake knife about 2 inches inside this traced line.
- Cut outwards towards the traced circle, making a complete concentric ring all around the cake.
- Repeat this process, tracing circles and cutting rings that are 2 inches wide.
2. Cut Rings Into Slices
- Take each concentric ring you just cut and slice from the center outward into individual portions.
- Aim for approximately 2 inch wide slices to create uniform pieces for guests.
- Wipe frosting from cake knife between each cut for neat, clean slices.
3. Achieve Circular Perfection
- Trace paper circles in various sizes on the cake board before delivery so you can neatly follow the lines.
- Stack multiple thin cake boards and lightly trace around the base to imprint an ideal circle.
- Use a cake turntable for smooth, even concentric cuts.
- Apply gentle pressure and don’t saw back and forth to prevent crumbs and frosting rips.
Square or Rectangular Cakes
For a modern geometric cake, follow these square and rectangular cutting tips:
1. Cut Even Rows
- Use a ruler and toothpick to lightly mark evenly spaced rows on the sides of the cake.
- Cut down the cake in straight lines across these marks to divide it into long rectangular portions.
- Aim for approximately 2 inch wide rows.
2. Create Uniform Slices
- Take each rectangle and make perpendicular cuts across it from top to bottom to create individual slices.
- Cuts should be 2 inches wide for consistency.
- Wipe knife clean after each slice.
- Avoid sawing motions for neat results.
3. Check Angles
- Use a triangle ruler or carpenter’s square to check 90 degree angles.
- Stand at cake’s corner and look diagonally across top to ensure it’s square.
- Use plastic cake boards under each tier to allow sliding while cutting for straight lines.
- Apply gentle, even pressure and lift knife straight up after each cut.
Other Shapes
For unique shapes like hearts, hexagons or ovals, use the same principles:
- Lightly trace equidistant cutting guides on cake surface before slicing.
- Apply gentle, straight down pressure to knife.
- Make perpendicular slices into uniform 2 inch wide portions.
Professional Tips for Cutting and Serving the Cake
Once you’ve mastered the ceremonial first cut, follow these professional tips to continue serving the cake elegantly:
1. Unstack Tiers and Cut Largest First
- Carefully unstack tiers before cutting to avoid jostling and damage.
- Cut bottom, largest tiers first to maintain cake’s structure.
- Transport slices from lower tiers to guests’ tables.
2. Remove Internal Dowels and Supports
- Locate and remove all hidden dowels, plates and supports before slicing to prevent obstruction.
- Consult your baker if unsure about internal structures.
3. Portion Appropriately
- Cut tiers into manageable sections for easy transporting of slices.
- Trim cake board edges with a carving knife for clean separation.
4. Keep Knife Clean
- Wipe knife completely clean between every slice.
- Frosting and crumbs lead to messy, ragged cuts.
5. Use Small Plates
- Serve cake slices on 6 to 8 inch dessert plates.
- Larger plates overwhelm portions leading to wasted cake.
Cake Cutting Etiquette and Traditions
Beyond the slicing skills, there are some etiquette guidelines and traditions to note:
Make the Moment Symbolic
The cake cutting ceremony is highly symbolic. Honor its meaning by:
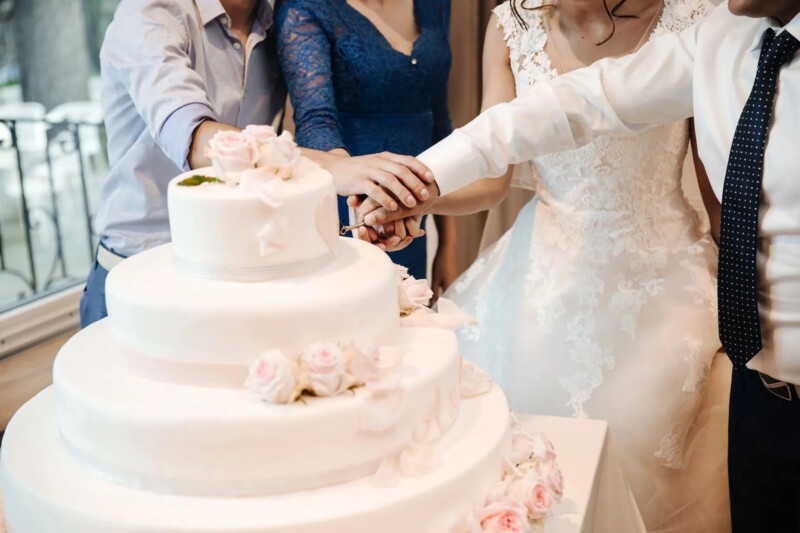
- Having groom’s hand over bride’s on the knife handle as you cut first slice together. This represents “togetherness”.
- Feeding each other a small bite of cake with forks. It represents committing to “nourish” each other.
- Offering the second slice to parents as a sign of “family”.
Avoid Cake Smashing
While funny in concept, avoid smashing cake into each other’s faces. It comes across as messy and disrespectful rather than lighthearted. Stick to elegant traditions for photographs you’ll display proudly.
Save the Top Tier
Preserve the top tier of your cake by freezing it to share on your first anniversary. It’s a fun tradition and means you’ll get to enjoy the same cake flavor again!
Take Your Time
Don’t rush through the process. The cake cutting offers key moments for photographers to capture your joy, emotion and interactions. Savor the once-in-a-lifetime occasion.
Determining When to Cut the Cake
Another key question couples have is when’s the ideal time during the reception to do the ceremonial cake cutting. Here are some tips on timing:
Cocktail Reception: Cut Early
If you are having a shorter, cocktail-style reception with minimal or heavy hors d’oeuvres instead of a plated dinner, cut the cake after the first hour. You want to give guests something substantial to eat.
Seated Dinner Reception: Cut After Dinner
For a formal reception with a seated plated dinner, save the cake cutting until after dessert is served. Typically it will happen about 30 minutes before the end of the reception.
Signal to Guests
Have your DJ or bandleader announce the cake cutting to encourage guests to gather around. You can also reprise your first dance song as a subtle signal.
No matter what kind of reception you’re having, allot 15-20 minutes for photographs of the cake cutting and of you feeding cake to each other. You’ll want lots of pictures of this symbolic tradition.
Do’s and Don’ts for a Memorable Cake Cutting
Follow this checklist of do’s and don’ts when cutting your wedding cake:
Do’s
- Do listen to your photographer’s directions for the best photos.
- Do take your time and enjoy it rather than rushing.
- Do cut the cake cooperatively, with your new spouse’s hand over yours.
- Do use a decorative cake knife and server set.
- Do feed each other a small bite of cake.
- Do offer the next slice to parents as a sign of unity.
Don’ts
- Don’t smash cake in each other’s faces.
- Don’t use fingers or hands to feed, only dainty forks.
- Don’t be overly forceful in cutting the top tier, which may be unstable.
- Don’t forget to remove any internal dowels or supports before slicing.
Preserve Memories with Beautiful Photographs
The poignant cake cutting ceremony flies by so quickly on your wedding day. Be sure to pause, breathe and stay in the moment with your new spouse. Savor each laugh, smile and sweet kiss. Having stunning photographs of your cake cutting conveys the significance of the occasion for decades to come.
When preparing to cut your wedding cake, keep this guide handy. Understanding the symbolism, proper technique and etiquette will ensure a flawless, memorable ritual. Let your elegantly sliced confection represent the first sweet step in your lives together.